
How To Dehydrate Apples
Here is how to dehydrate apples and dry them with a dehydrator machine. Dehydrated apples are such a simple and healthy snack to make at home. Using a dehydrator keeps the natural sweetness of the apples while removing the moisture, so they last longer and are easy to store.
They’re perfect for lunch boxes, hiking trips, or just keeping on hand for when you want something sweet but wholesome. Dehydrated apples can also be used for tea in the colder months too. If you’re new to dehydrating, apples are one of the easiest fruits to start with.

I’ve been making dehydrated apples for years, and they’ve become a fall tradition in my kitchen. We have two apple trees that give us a ton of apples every year, and turning them into chewy, sweet apple slices is one of my favorite ways to make a healthy apple snack.
They are chewy, naturally sweet, and feel like such a treat without adding anything extra. It’s one of those recipes that makes you feel good because it’s homemade and healthy at the same time.
Why you will love dehydrating apples
Dehydrated apples are a great snack because they’re both healthy and convenient. Drying the apples locks in their natural sweetness, so you don’t need to add any sugar. They’re lightweight, easy to store which makes them perfect for busy families, school snacks, hiking, camping or road trips. Plus, they keep most of their nutrients, so you get a tasty treat that’s still good for you.
How To Dehydrate Apples
What you need to dehydrate apples
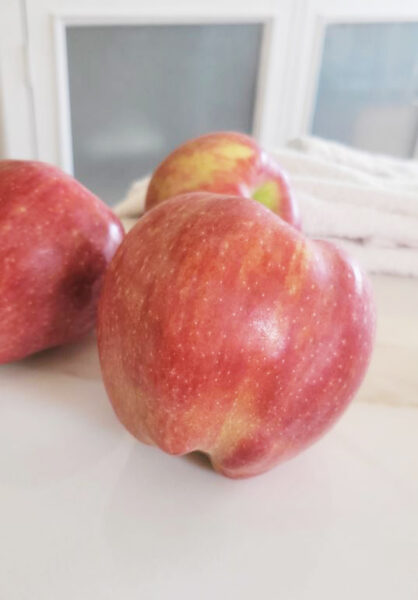
The good news is you don’t need much to get started with dehydrating apples. Any kind of apple will work, so you can use what you already have or mix different varieties for fun flavors.
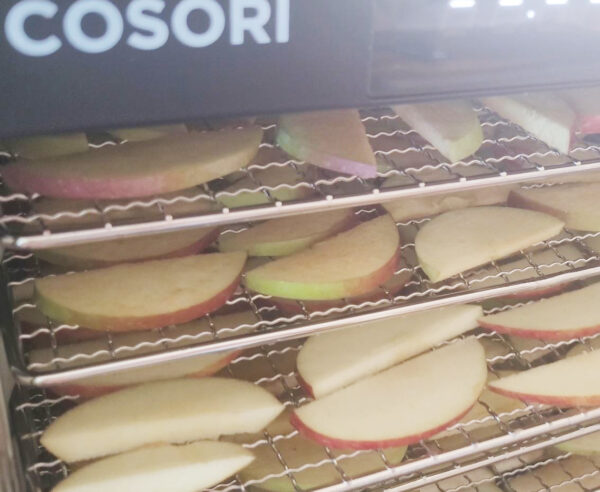
I currently use a Cosori food dehydrator, but any one will work for this dried apple recipe. Here’s the full review of the Cosori food dehydrator if you would like to learn more.

Steps for dehydrating apples
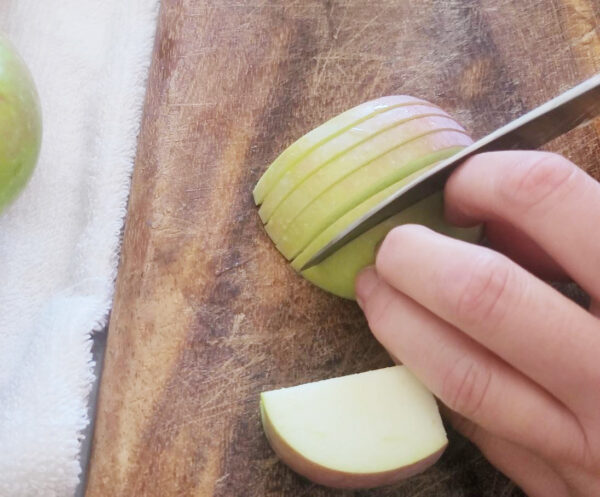
Step 1: Wash and Slice the Apples
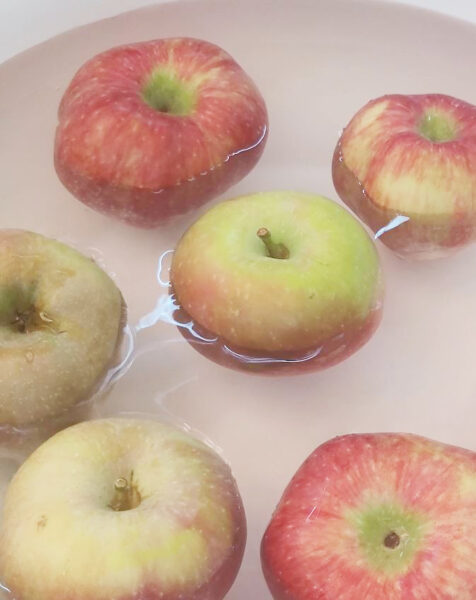
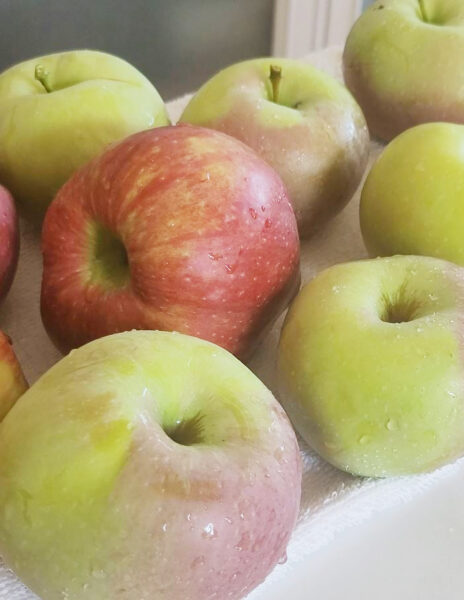
Give your apples a good wash and let them dry. Or dry them off with a kitchen towel if you need to start making them right away. I’m just giving these a quick rinse since they are from my own tree with no pesticides. If you are concerned about that, here is a helpful article about how to wash apples.
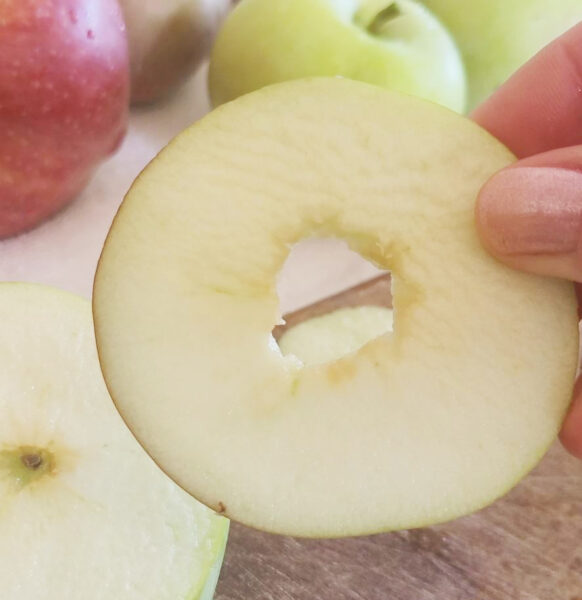
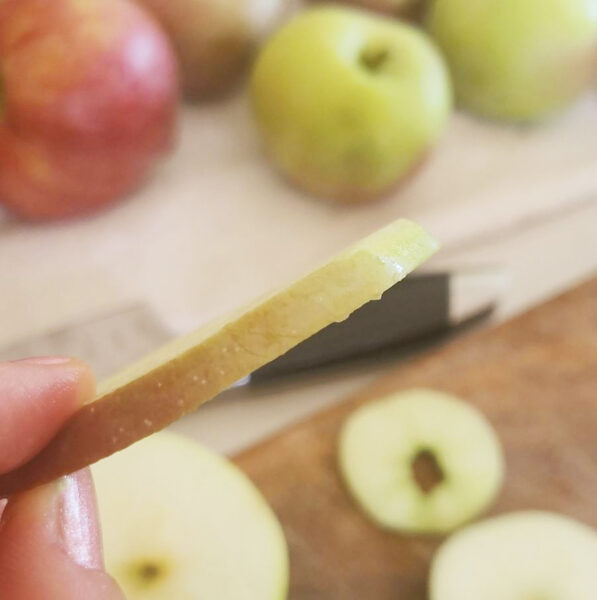
Slice them into thin, even pieces at about 1/4 of an inch. Use an apple peeler corer or just cut them up. You can peel them if you want, but leaving the peel on adds extra flavor and texture.
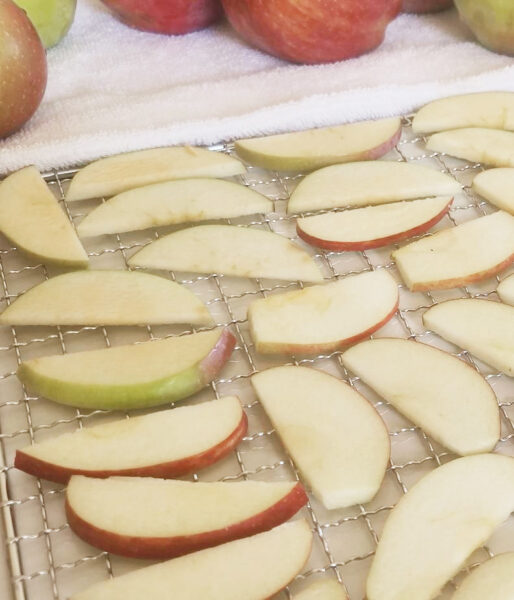
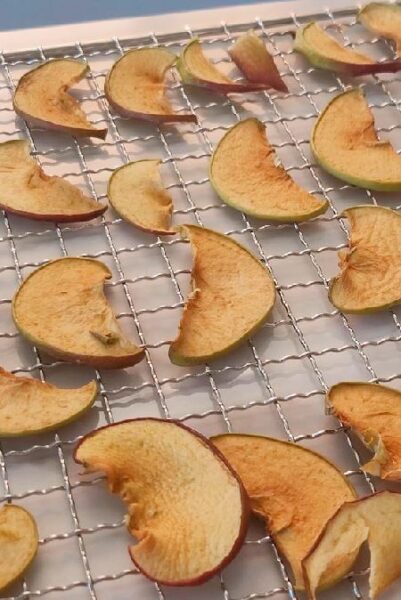
Step 2: Arrange on Dehydrator Trays
Lay the apple slices in a single layer on your dehydrator trays. Try not to overlap them so they dry evenly.
Step 3: Dehydrate the Apples
Set your dehydrator to 135°F and let them dry for about 6-8 hours, depending on the thickness of your slices and the type of apple. For even drying, rotate the trays halfway through the process. Some dehydrators dry more evenly than others, but turning the trays helps keep all the apple slices consistent. If you are cutting the apples more thick, it can take over 8 hours to fully dry your apples.
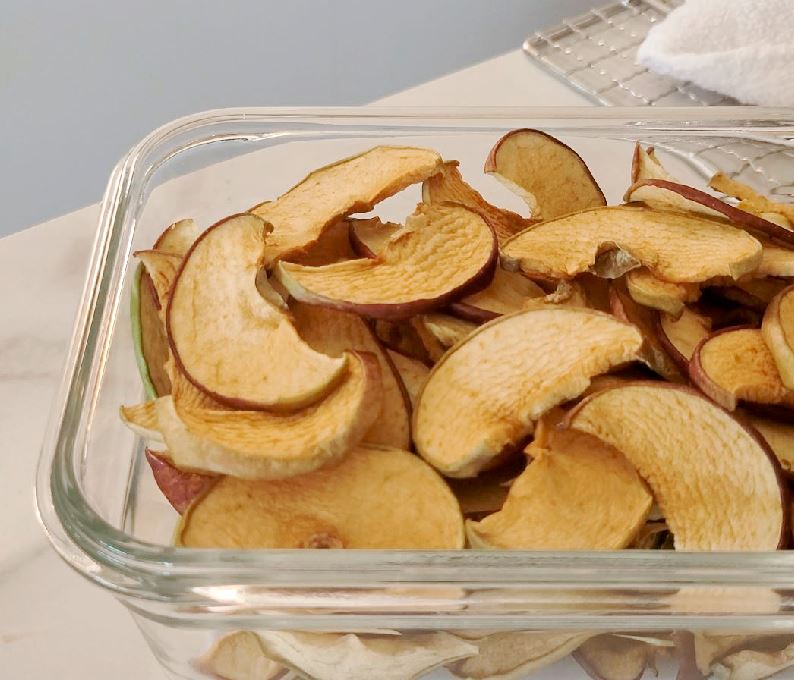
Step 4: Check for Doneness
Apples are ready when they’re leathery and chewy, but not sticky. If you prefer them crisp, just let them dry a little longer.
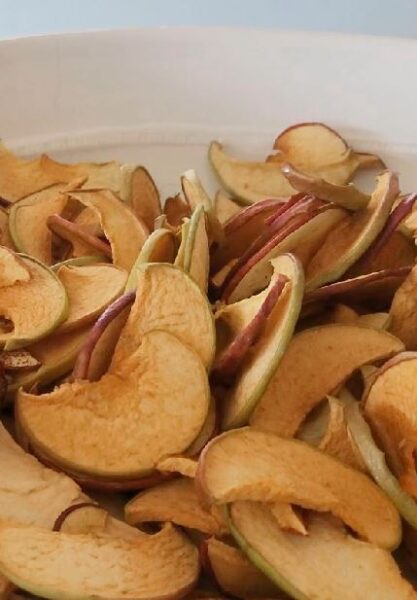
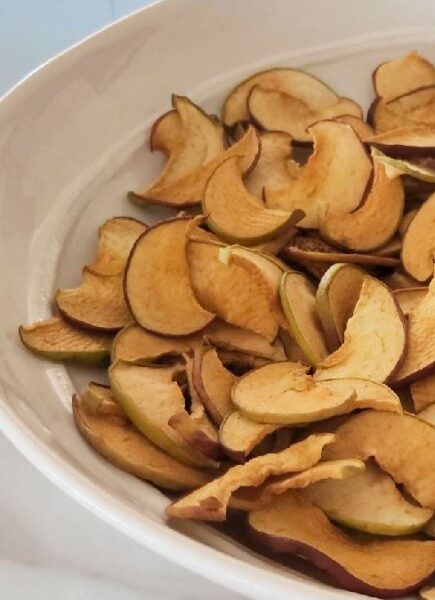
Step 5: Condition the Apples
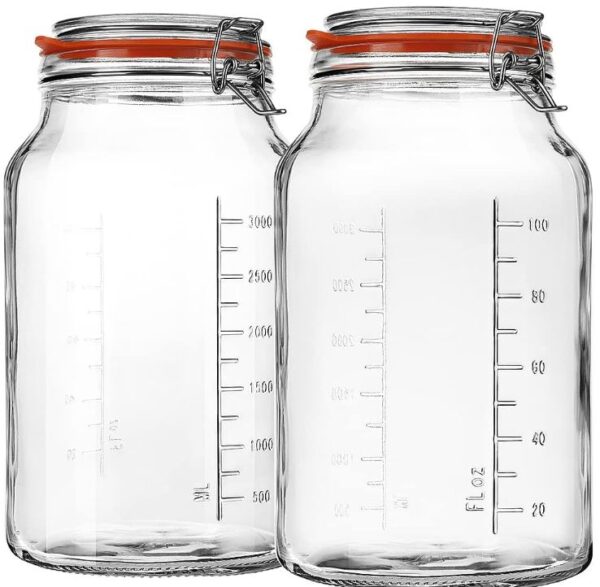
Before storing, place your cooled dried apples in a large glass jar or bowl. Shake the jar once a day for about a week. This helps even out any leftover moisture between slices and prevents mold. If I’m making a ton of dried apples, I like to keep them in a large bowl on the counter covered with a dish towel. I’ll stir them up every day.
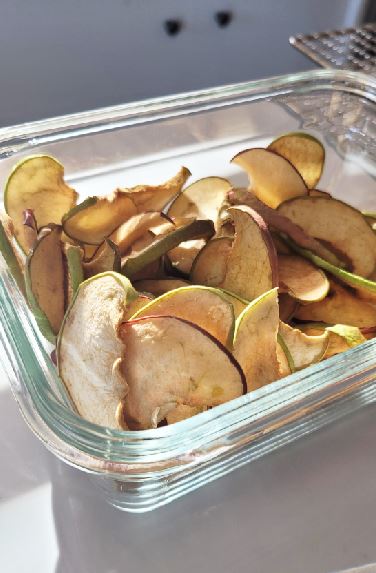
Step 6: Store in Glass Containers
After conditioning, store the apples in glass containers with tight lids. Keep them in a cool, dark place for the longest shelf life.
Dried Apple Custom Flavor Ideas
One of the best things about dehydrated apples is how easy it is to change up the flavor. You can keep them plain for a simple sweet snack, or add a little extra before drying to make them unique. Here are some fun ideas.
- Cinnamon Sugar: Sprinkle a light mix of cinnamon and sugar on the slices before drying for that classic apple pie taste.
- Pumpkin Spice: Dust your apples with pumpkin pie spice for a cozy fall flavor.
- Maple Syrup Drizzle: Brush the slices with a tiny bit of pure maple syrup for a richer, candy-like apple.
- Ginger & Honey: Mix ground ginger with a little honey for a warm, slightly spicy flavor.
- Salted Cocoa: This is a favorite around here. Sprinkle some cocoa on the apples before drying with a bit of sea salt.
Little changes like these make each batch special and give you lots of variety for snacks, lunchboxes, or even homemade gifts for foodies.
Tips for dehydrating apples
Slice Apples Evenly
Keeping your slices even is one of the most important steps. If some slices are thin and others are thick, they won’t dry at the same rate. Thinner slices will get brittle while thicker ones may stay chewy or even spoil.
Don’t Overlap on Trays
When placing your apples in the dehydrator, make sure each slice has its own space. Overlapping slices trap moisture and make it hard for the air to circulate properly. This can leave you with apples that are not fully dry in the middle. A little extra time spreading them out neatly saves a lot of frustration later.
Test for Doneness
Apples should feel leathery or crisp once they’re finished. If you bend a slice and it still feels sticky, it needs more time. I usually pull one out, let it cool for a minute, and then test it before removing the rest of the batch. It’s always better to dry a little longer than to risk mold later.
Condition Before Storing
Conditioning means placing your dried apples into a jar for about a week, shaking it once a day to see if any moisture shows up. If condensation appears on the glass, they need to go back into the dehydrator. It’s a step that helps keep your apples for long term storage.
Store in Glass Containers
Glass jars with tight fitting lids are the best way to store dried apples. Plastic bags can let in air and shorten their shelf life. I keep my jars in a cool, dark place, and they stay fresh for months. Plus, it’s so pretty seeing jars of golden apple slices lined up in the pantry.
Dehydrated apples FAQ
Do you have to peel apples before dehydrating?
No, you don’t have to peel them at all. The peel adds extra fiber, flavor, and a bit of color to the finished slices. Some people like to peel because the texture is smoother without it, but it really comes down to personal preference. If you’re short on time, leaving the peel on works perfectly.
How long do dehydrated apples last?
Stored properly, apple chips that have been done in a dehydrator can last up to a year. The key is keeping them in an airtight glass jar in a cool, dark spot. Over time, they might lose a little bit of flavor or crispness, but they’re still perfectly safe to eat. Around here, they usually disappear way before the year is up.
Do you need to soak apples in lemon water?
It’s optional. If you don’t mind darker slices, you can skip this step and they’ll taste just as good. I usually skip it because they are going to turn to a dark yellow anyway.
What’s the best apple for dehydrating?
Any apple works. Sweet, firm varieties like Honeycrisp, Fuji, and Gala make a classic chewy snack. If you prefer a tangy flavor, Granny Smiths are a great choice. I have apple trees at home, so I just use what I harvest. And that’s one of the best things about dehydrating, you can use whatever you have!
More apple recipe ideas
Apple and cottage cheese oatmeal bowl
Best applesauce overnight oats recipe
Easy apple cinnamon overnight oats recipe
How To Dehydrate Apples
1
servings20
minutes8
hours80
kcalA simple recipe for dehydrated apples made right in a food dehydrator. Once they’re dried, you’ll have a healthy snack that stores well and tastes amazing all year long. For one dried apple there are approximately 80 calories.
Ingredients
10 fresh apples
Directions
- Wash and Slice the Apples: Give your apples a good wash, then slice them into thin, even pieces at about 1/4 of an inch. You can peel them if you want, but leaving the peel on adds extra flavor and texture. Here is a helpful article about how to wash apples.
- Arrange on Dehydrator Trays: Lay the apple slices in a single layer on your dehydrator trays. Try not to overlap them so they dry evenly.
- Dehydrate the Apples: Set your dehydrator to 135°F and let them dry for 6 – 8 hours, depending on the thickness of your slices and the type of apple. For even drying, rotate the trays halfway through the process. Some dehydrators dry more evenly than others, but turning the trays helps keep all the apple slices consistent.
- Check for Doneness: Apples are ready when they’re leathery and chewy, but not sticky. If you prefer them crisp, just let them dry a little longer.
- Condition the Apples: Before storing, place your cooled dried apples in a large glass jar or container. Shake the jar once a day for about a week. This helps even out any leftover moisture between slices and prevents mold.
- Store in Glass Containers: After conditioning, store the apples in glass containers with tight lids. Keep them in a cool, dark place for the longest shelf life.
Kitchen Favorites
 Cosori DehydratorCheck Price
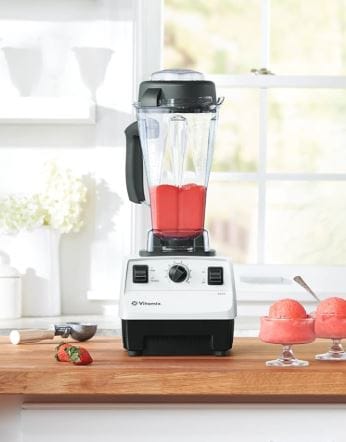
- VitamixCheck Price
- Cuisinart Food ProcessorCheck Price

Recipe Video
Notes
- Store your dehydrated apples in airtight glass jars for the best freshness. If you make a big batch, condition them first by shaking the jar once a day for a week to even out the moisture before long term storage.
Like this recipe?
Follow @MakeOvernightOats on Pinterest


