Maple Granola Recipe
This maple granola is a wholesome, sugar-free recipe that’s naturally sweetened with pure maple syrup, making it a healthier choice for your breakfast or snack.
Packed with crunchy oats, nuts, and seeds, it’s baked to golden perfection without any added refined sugar.
The natural sweetness of maple syrup pairs beautifully with warm spices, creating a flavorful granola that’s both nutritious and satisfying. Perfect for sprinkling over yogurt, adding to smoothie bowls, or enjoying by the handful!
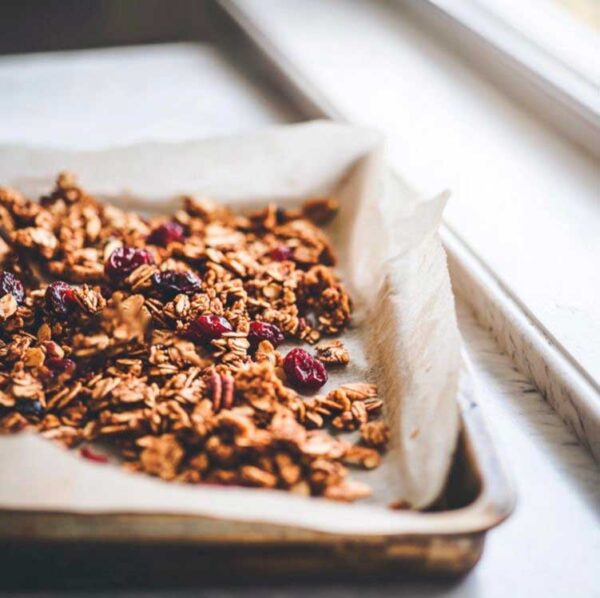
This is my favorite maple granola recipe to make because it’s so simple. The maple syrup adds just the right amount of sweetness without overpowering the natural flavors of the oats and nuts.
You can easily customize this homemade maple granola with your favorite mix-ins like dried fruits, coconut flakes, or even a sprinkle of chocolate chips for a treat.
This granola with maple syrup is fantastic for meal prep, and the aroma while it bakes is absolutely irresistible! I love to take it camping and for when I go on hikes.
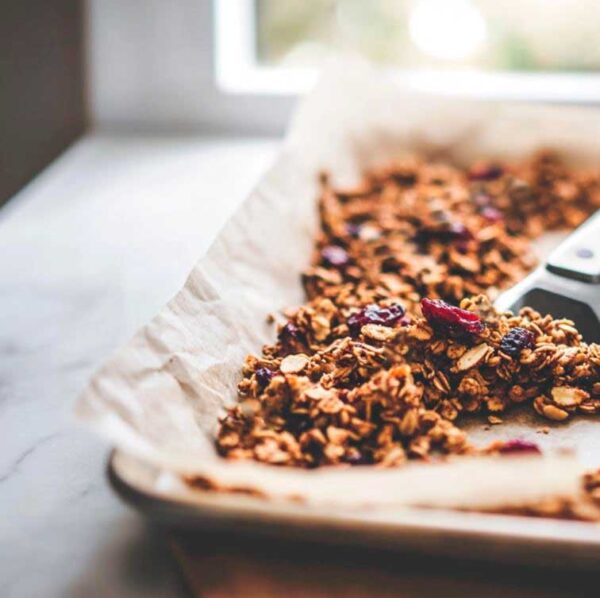
Maple Granola Recipe
This maple granola recipe makes about 10 cups of granola, depending on how much it shrinks during baking.
Maple Granola Ingredients
- 4 cups old fashioned rolled oats
- 1 cup roughly chopped pecans
- 1/2 cup sliced almonds
- 2/3 cup dried fruit of your choice (cranberries, raisins, dried apricots)
- 1/2 cup pumpkin seeds
- 1/2 cup olive oil or coconut oil
- 1/2 cup maple syrup
- 2 tsp real vanilla extract
- 1 tsp Celtic sea salt
- 1 tsp ground nutmeg
- 1 tsp ground cinnamon
Maple Granola Instructions
- Preheat oven to 350°F
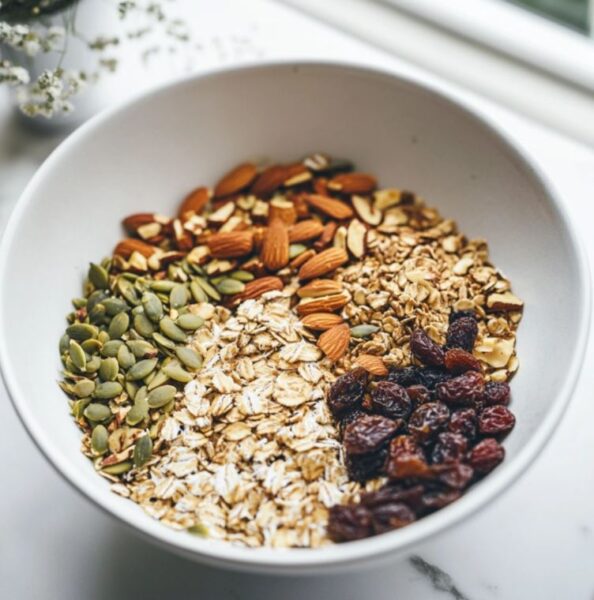
- In a large bowl, combine the rolled oats, chopped pecans, sliced almonds, dried fruit and pumpkin seeds. Give them a good stir so that they are well blended.
- Pour on the olive oil, maple syrup, vanilla, Celtic sea salt, nutmeg and cinnamon. Mix everything together so that all of the ingredients are coated.
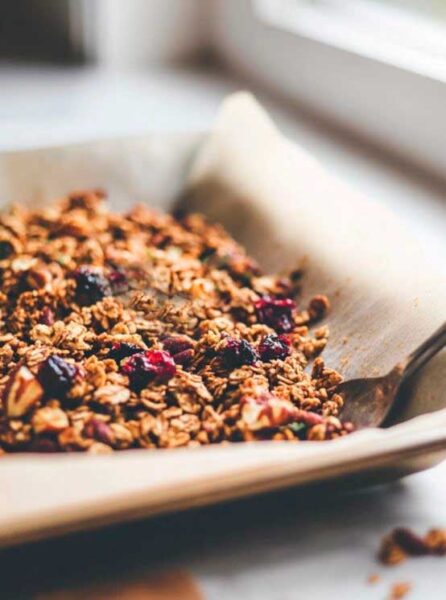
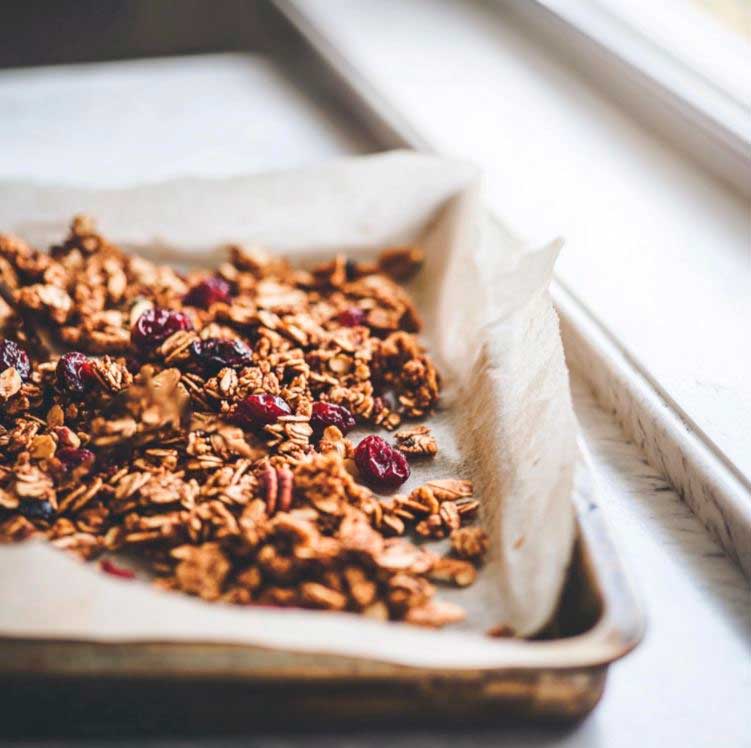
- Put the granola mixture onto a large baking sheet that is lined with parchment paper. Spread evenly. Press the granola down a bit so that it sticks together. This will give you large clumps of granola once it is cooled.
- Bake for about 20 minutes and check on it. It should be lightly golden. If it is not golden yet, put it in for a bit longer, checking on it every minute so that it does not overbake.
- Let the granola cool completely then break it up with your hands. You can make little pieces or large chunks.
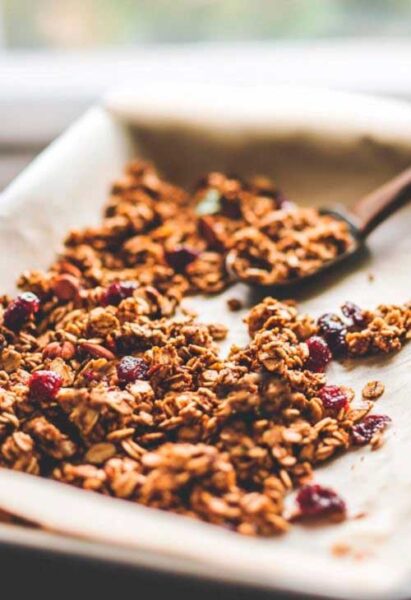
Tips For Getting Chunky Granola
Here are some tips for making granola extra chunky and full of clusters. If you love big, crispy chunks in your granola, these tricks can help you get that perfect texture.
Use More Maple Syrup
Add extra maple syrup or honey to help the ingredients stick together. The added moisture encourages clumping. Here’s our list of the best maple syrup brands to try out.
Press the Granola Firmly
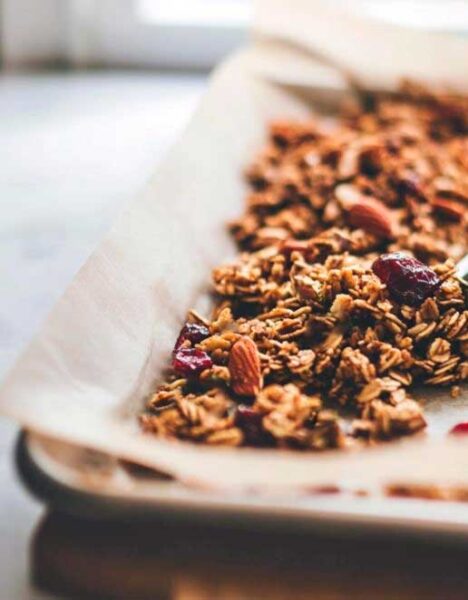
After spreading the granola on the baking sheet, press it down firmly with a spatula or your hands to create a packed layer.
Avoid Stirring
Leaving it undisturbed while baking helps large clusters form.
Roughly Chop The Nuts
Don’t chop the nuts too small. These bulkier elements naturally clump together as they bake, creating those chunky pieces.
Let It Cool Completely
Once the granola is baked, let it cool completely on the baking sheet without touching it. This allows the clusters to harden and stay intact.
Maple Granola FAQ
1. Can I use quick oats instead of rolled oats?
Yes, but rolled oats are better for granola because they hold their shape and provide more crunch. Quick oats may make the granola softer.
2. How do I make granola clump together?
To get clumps, press the granola down firmly on the baking sheet and avoid stirring it while it bakes. Adding a bit more liquid like maple syrup or oil can also help it stick.
3. Can I make granola without oil?
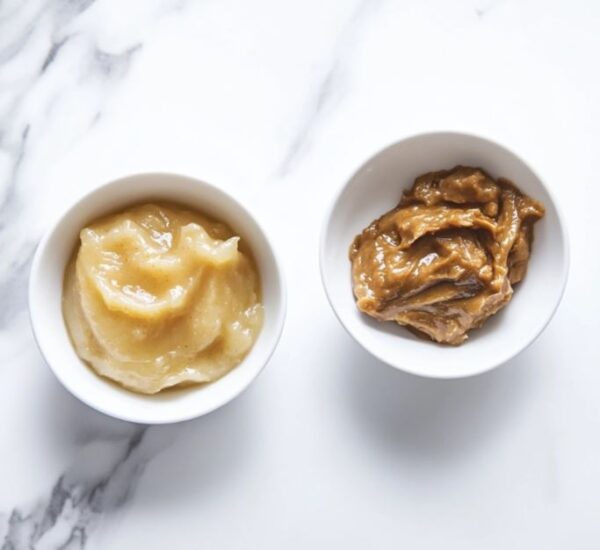
Yes, you can substitute applesauce or nut butter for oil to keep it moist and flavorful. Just note that it may not be as crispy.
4. How long does homemade granola last?
Homemade granola can last up to 2 weeks in an airtight container at room temperature. Make sure it’s completely cooled before storing.
5. Can I freeze granola?
Yes, granola freezes well! Store it in a freezer-safe bag or container for up to 3 months. Let it thaw at room temperature before eating. This is one of the reasons why I love this recipe so much, when I’m on the go I can just grab it for a quick snack.
More Topping And Inclusions
Here are some topping and ingredient ideas that you might have on hand in the pantry. These options let you customize your granola just the way you like it.
1. Dried Fruits
Add raisins, cranberries, chopped dates, apricots, or dried mango for a sweet and chewy texture. We have a list of dried fruit ideas.
2. Chocolate Chips
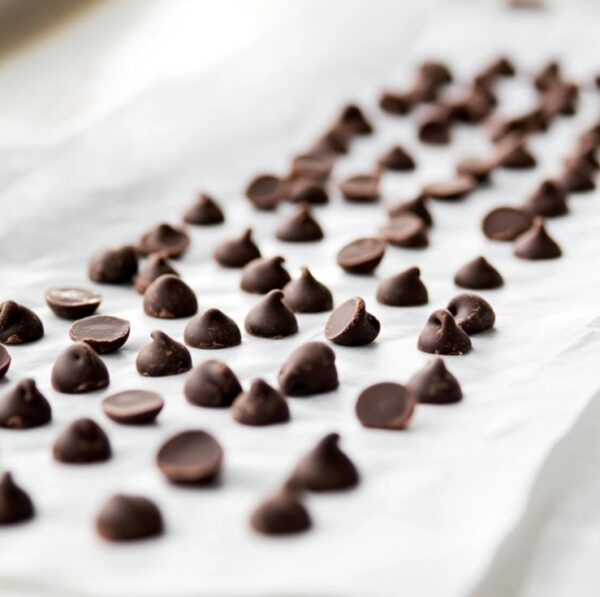
Mix in dark, milk, or white chocolate chips after the granola cools for a hint of sweetness. I have a really fun DIY chocolate chips recipe to try out when you want to make your own.
3. Fresh Fruits
Top your granola with fresh berries, sliced bananas, or diced apples for a burst of freshness when you want to eat it with milk for breakfast.
4. Nut Butters
Drizzle almond butter, peanut butter, or cashew butter over the granola for extra flavor and creaminess.
5. Seeds
Sprinkle chia seeds, flaxseeds, or hemp hearts for added crunch and a boost of nutrition.
6. Yogurt or Milk
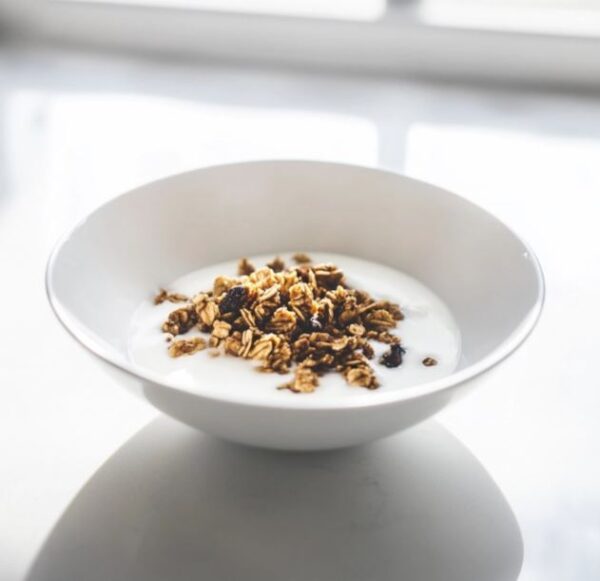
Serve granola with Greek yogurt or your favorite type of milk to make it a complete meal or snack.
7. Shredded Coconut
Add unsweetened or toasted coconut flakes for a tropical touch and added crunch.
8. Spices
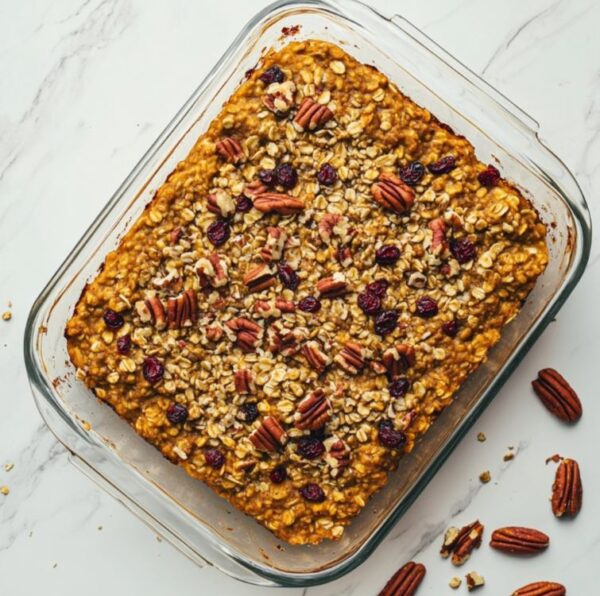
Dust with pumpkin spice for a warm and aromatic flavor. Also, see my easy baked pumpkin oatmeal.
9. Nuts
Mix in chopped pecans, walnuts, almonds, or pistachios to complement the oats and add crunch. Here is a list of nuts to try.
10. Honey or Maple Syrup Drizzle
Top your granola with a drizzle of honey or maple syrup for extra sweetness.
Thanks for reading! This is one of my favorite granola recipes with maple syrup. I hope you enjoy making it as much as I do! Did you make any alterations or add your own twist to the recipe? Let me know, I’d love to hear how you made it your own!
More Breakfast Recipes
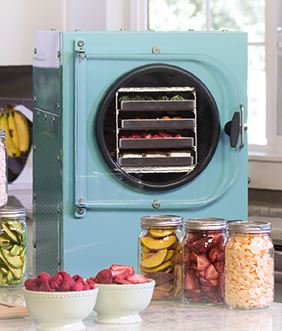
Hey, before you go. Have you ever wanted to know about free drying? I have a freeze drying beginner article that tells you all about it!


![Pumpkin Pie Overnight Oats Recipe [with video]](https://makeovernightoats.com/wp-content/uploads/2023/11/pumpkin-pie-overnight-oats-11.jpg)
![Golden Hour Overnight Oats Recipe [with turmeric]](https://makeovernightoats.com/wp-content/uploads/2023/12/golden-hour-overnight-oats-2-2.jpg)