
How To Freeze Fresh Grapes
This is how to freeze fresh grapes. Freezing grapes is one of the easiest ways to preserve fruit at home. Frozen grapes are perfect for smoothies, snacking, baking, and even chilling drinks without watering them down.
Learning how to freeze grapes step by step makes sure they keep their flavor, texture, and freshness for months in the freezer. It’s a simple food preservation method that works great if you have a big harvest or you bought extra grapes on sale.
I always seem to end up with more grapes than I can eat fresh. Between my garden and the local market, I’ll have baskets full sitting on the counter. Instead of letting them go to waste, I love freezing them. It saves me money, keeps the grapes from spoiling, and gives me a ready to go snack that feels like a healthy little popsicle. Plus, I can grab a handful anytime for smoothies or to toss in a salad.
How To Freeze Grapes
This quick tutorial shows you how to freeze grapes step by step. Watch the video below and follow along as I wash, dry, flash freeze on a tray, and store the grapes in freezer safe containers.
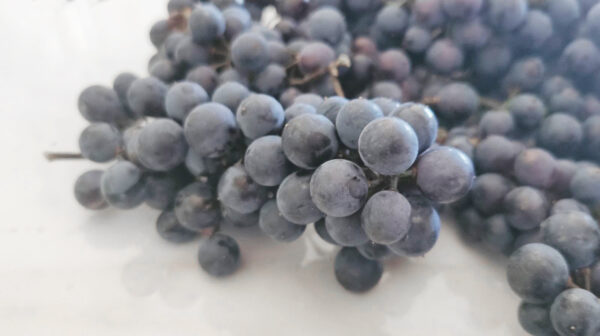
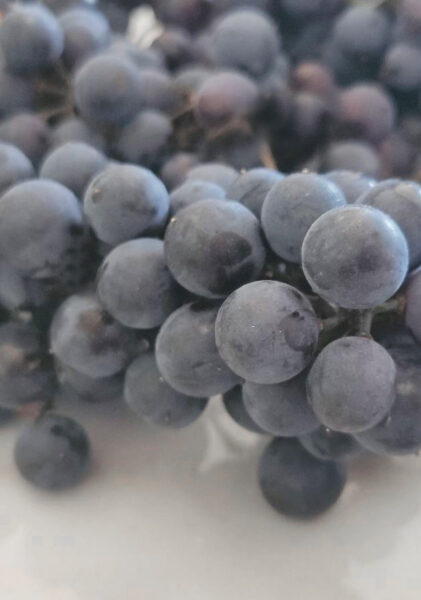
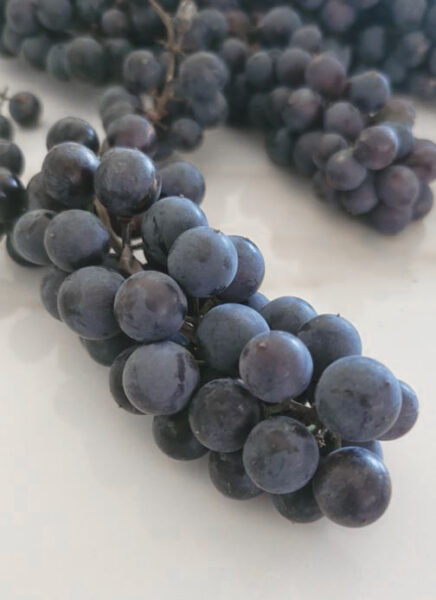
Step 1: Remove Grapes from the Stems
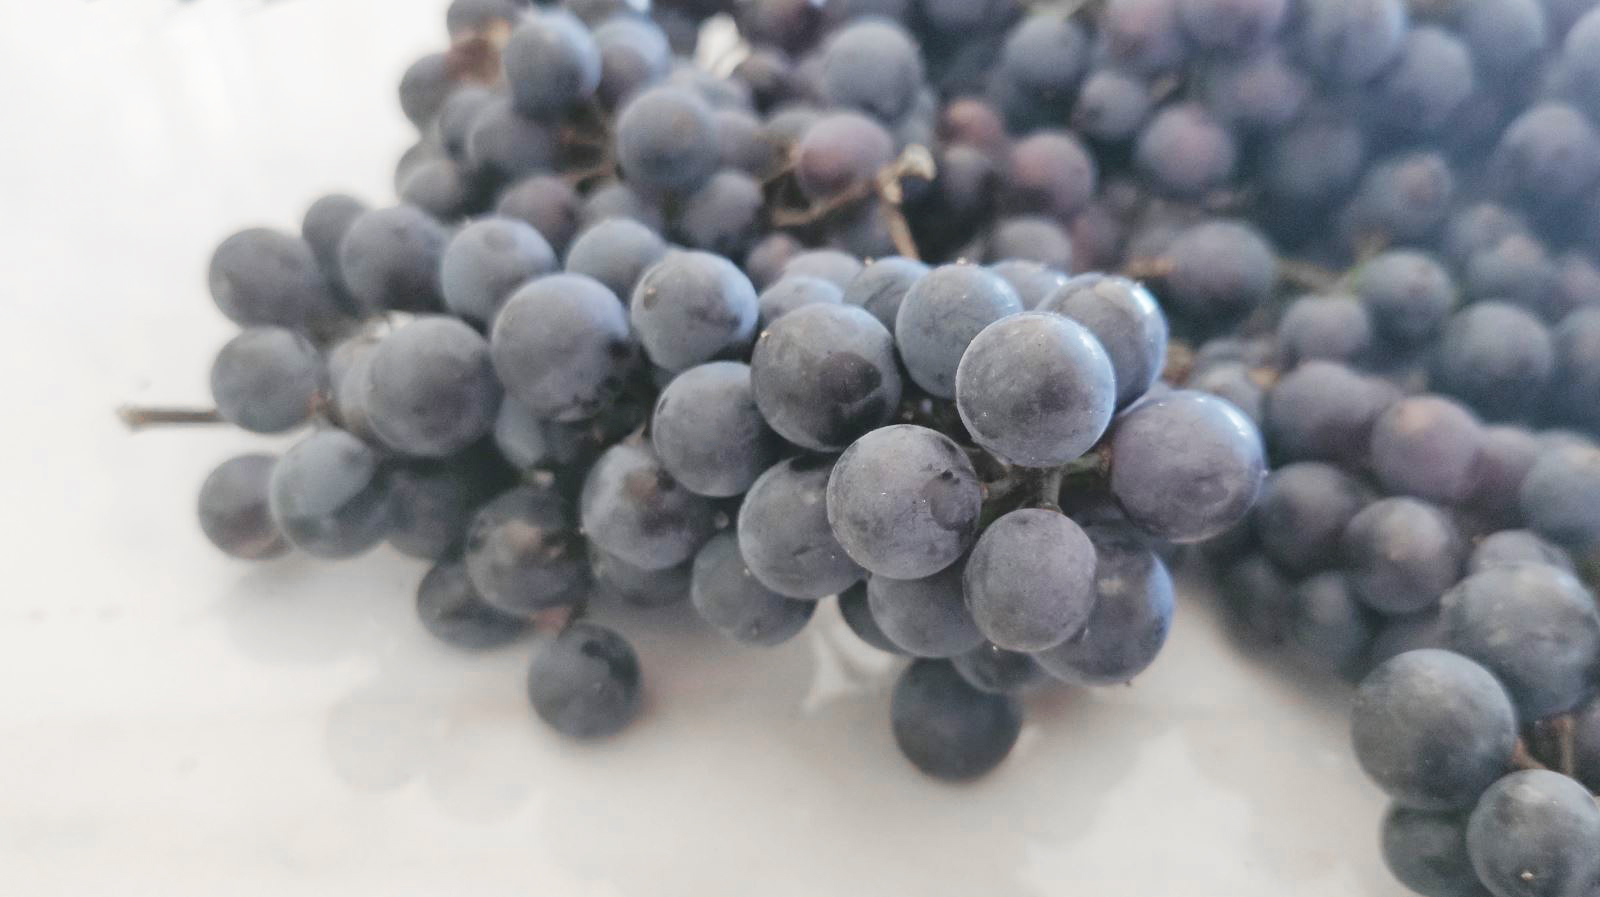
Start by gently pulling each grape off the stem. This makes them easier to clean and keeps them from sticking together later on. Taking the grapes off the stems before freezing also saves you time when you’re ready to eat them. Try to remove any grapes that look soft or spoiled and set them aside.
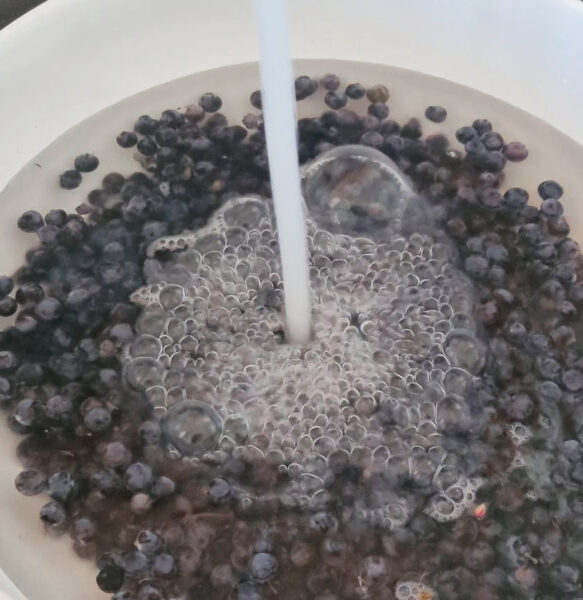
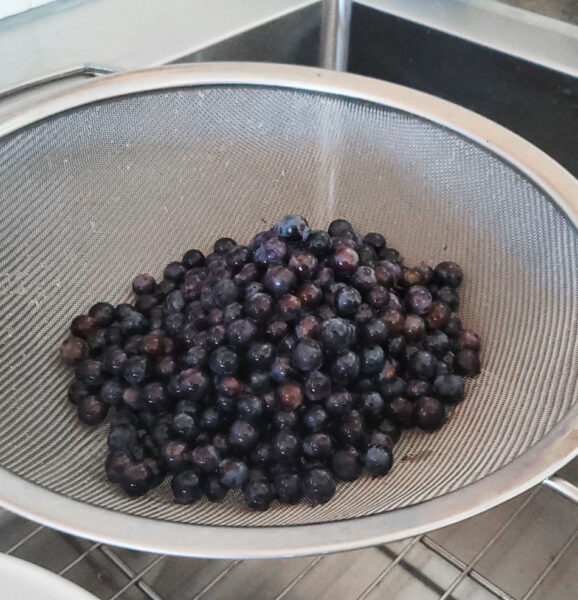
Step 2: Wash the Grapes
Place the grapes in a large bowl or strainer and rinse them well under cool running water. Washing them helps get rid of dirt, dust, and any residue from the store or garden. Be sure to move the grapes around with your hands so all sides get clean. Fresh, clean grapes will freeze better and taste better when you snack on them later.
Step 3: Strain the Grapes
After washing, let the grapes sit in a strainer to drain out the extra water. Shaking the strainer a little can help remove even more water. Getting rid of this moisture is important because too much water can cause ice to build up. Ice can change the taste and texture of the grapes once they’re frozen.
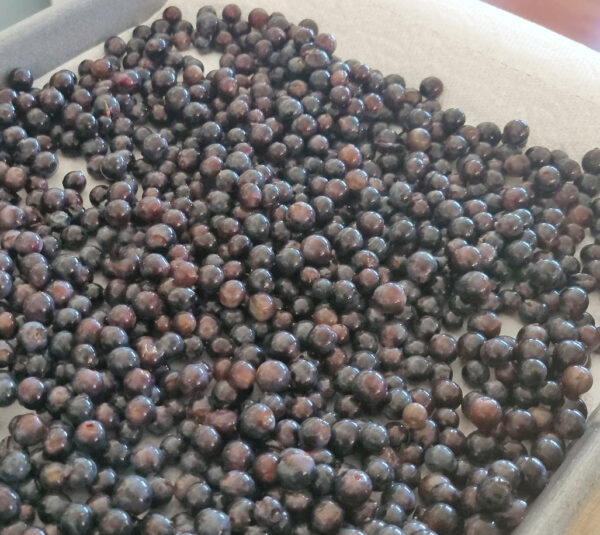
Step 4: Let Grapes Dry
Spread the grapes out in a single layer on a baking sheet lined with a paper towel. This helps them dry more quickly and evenly. Letting them air dry is an important step because wet grapes can stick together in the freezer. Taking a few extra minutes here makes a big difference when you’re ready to enjoy them.
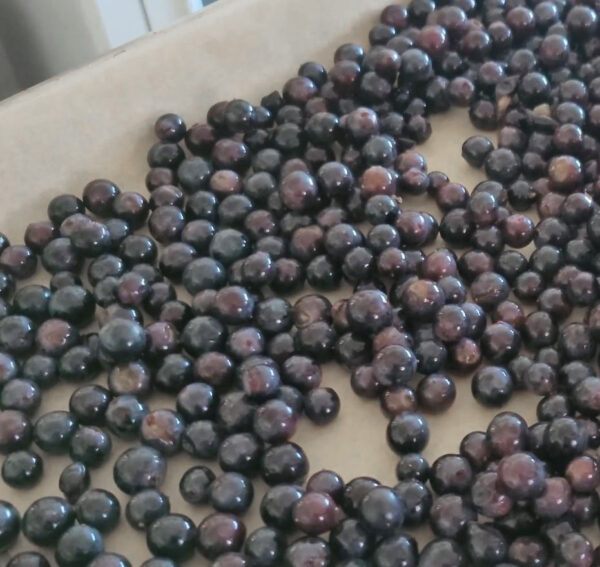
Step 5: Arrange on a Baking Sheet
Now that the grapes are dry, move them to a clean baking sheet lined with parchment paper. Spread them out so they’re not touching too much, which keeps them from clumping together. This step is called flash freezing and it helps each grape freeze separately. That way, you can grab just a handful at a time later.
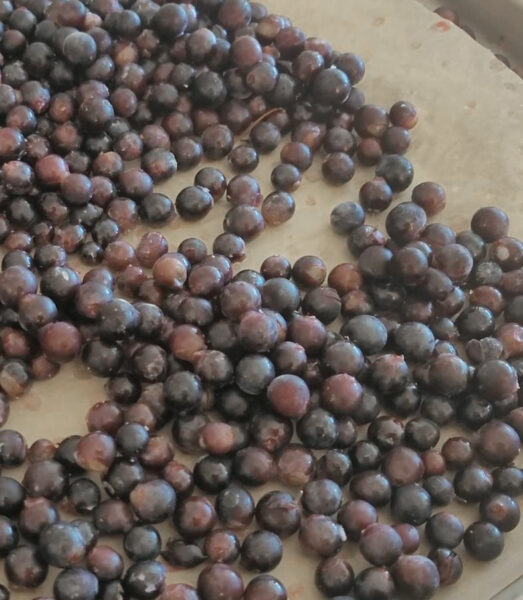
Step 6: Freeze the Grapes
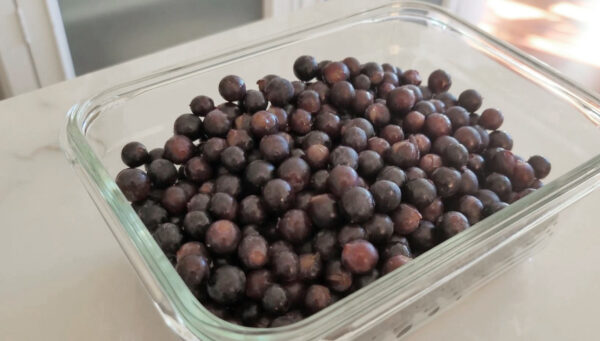
Put the baking sheet into the freezer and leave the grapes there for at least 2 hours. Freezing them on the tray first helps lock in their shape and flavor. After 2 hours, they should be solid and no longer sticky. If you like, you can even leave them overnight for an extra firm freeze.
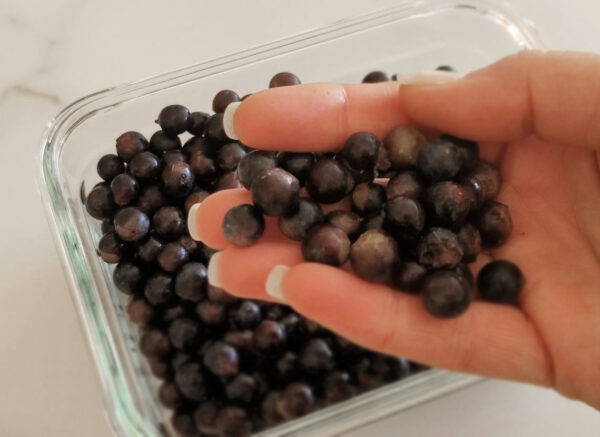
Step 7: Store in Containers
Once the grapes are fully frozen, transfer them into freezer-safe bags or containers. Try to remove as much air as possible from the bags to prevent freezer burn. Don’t forget to write the date on the bag so you know when they were frozen. Grapes will usually last up to a year in the freezer, but they’re so tasty you’ll probably eat them much sooner.
Tips For Freezing Grapes
Use firm, ripe grapes
Freeze grapes that are fully ripe but still firm. Overripe grapes can get mushy after freezing, while firm grapes hold their shape and texture better. Seedless grapes are easiest to work with, but seeded grapes work fine too if you plan to remove the seeds later.
Don’t skip drying
Make sure the grapes are completely dry before placing them on the baking sheet. Even a little water can create ice crystals, which affects texture and makes them stick together. Patting them dry and letting them air out a bit helps keep them perfect.
Flash freeze first
Freezing the grapes on a baking sheet before putting them in bags keeps them from clumping together. This makes it easy to grab just a handful when you need them.
Use airtight containers or freezer bags
After the grapes are frozen, store them in airtight containers or freezer bags. Press out extra air to prevent freezer burn. This helps them stay fresh and tasty for up to a year or longer.
FAQ About Freezing Fresh Grapes
Can you freeze grapes with stems?
It’s best to remove grapes from the stems before freezing. Stems can make the grapes harder to store in bags, and grapes freeze more evenly without them.
How long do frozen grapes last?
Frozen grapes will stay good in the freezer for about 12 months. For the best taste and texture, try to use them within that time frame.
Can frozen grapes be eaten straight from the freezer?
Yes! Frozen grapes make a refreshing, healthy snack straight from the freezer. They taste like little natural popsicles.
Can you freeze grapes with seeds?
Yes, grapes with seeds can be frozen too. You may want to remove the seeds before eating or using them in recipes, but freezing does not affect seeded grapes negatively.
How To Freeze Fresh Grapes
20
minutesIngredients
2 lbs Fresh Grapes (or as many as needed to freeze)
Directions
- Start by gently pulling each grape off the stem. This makes them easier to clean and keeps them from sticking together later on. Taking the grapes off the stems before freezing also saves you time when you’re ready to eat them. Try to remove any grapes that look soft or spoiled and set them aside.
- Place the grapes in a large bowl or strainer and rinse them well under cool running water. Washing them helps get rid of dirt, dust, and any residue from the store or garden. Be sure to move the grapes around with your hands so all sides get clean. Fresh, clean grapes will freeze better and taste better when you snack on them later.
- After washing, let the grapes sit in a strainer to drain out the extra water. Shaking the strainer a little can help remove even more water. Getting rid of this moisture is important because too much water can cause ice to build up. Ice can change the taste and texture of the grapes once they’re frozen.
- Spread the grapes out in a single layer on a baking sheet lined with a paper towel. This helps them dry more quickly and evenly. Letting them air dry is an important step because wet grapes can stick together in the freezer. Taking a few extra minutes here makes a big difference when you’re ready to enjoy them.
- Now that the grapes are dry, move them to a clean baking sheet lined with parchment paper. Spread them out so they’re not touching too much, which keeps them from clumping together. This step is called flash freezing and it helps each grape freeze separately. That way, you can grab just a handful at a time later.
- Put the baking sheet into the freezer and leave the grapes there for at least 2 hours. Freezing them on the tray first helps lock in their shape and flavor. After 2 hours, they should be solid and no longer sticky. If you like, you can even leave them overnight for an extra firm freeze.
- Once the grapes are fully frozen, transfer them into freezer-safe bags or containers. Try to remove as much air as possible from the bags to prevent freezer burn. Don’t forget to write the date on the bag so you know when they were frozen. Grapes will usually last up to a year in the freezer, but they’re so tasty you’ll probably eat them much sooner.
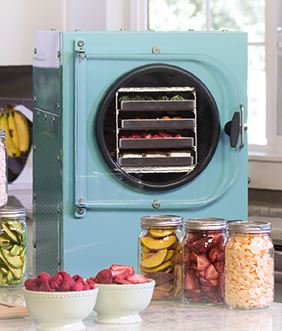
Fave Kitchen Equipment
 At Home Freeze DryersFreeze Dryers
- Stand MixersKitchenAid Store
- Best BlendersNinja Store
Recipe Video
Like this recipe?
Follow @MakeOvernightOats on Pinterest
And just like that, your grapes are ready to enjoy any time you like! Frozen grapes keep their sweet taste and become such a versatile treat. From smoothies and desserts to refreshing snacks and even drink garnishes, there are so many ways to use them once they’re frozen. Take a moment to appreciate how easy it is to save your grapes and turn them into something you’ll love having on hand all year long.
At Home Freeze Dryers

KitchenAid Mixers
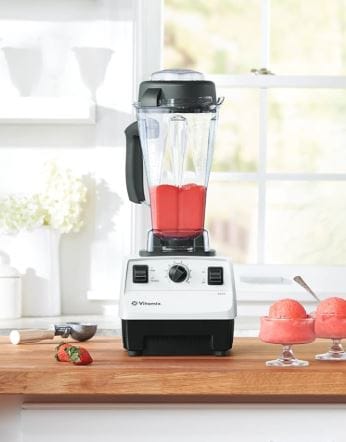
Vitamix Blenders
More Food Preservation Tips