
How To Freeze Fresh Blackberries (4 Easy Steps)
This is how to freeze fresh blackberries step by step. Freezing fresh blackberries is one of the best ways to save your summer harvest for later. When you freeze blackberries the right way, they keep their sweet flavor, bright color, and juicy bite. You can use blackberries for smoothies, baking, jams, or even just a quick snack, this simple method will help you keep them fresh and ready to use all year long.
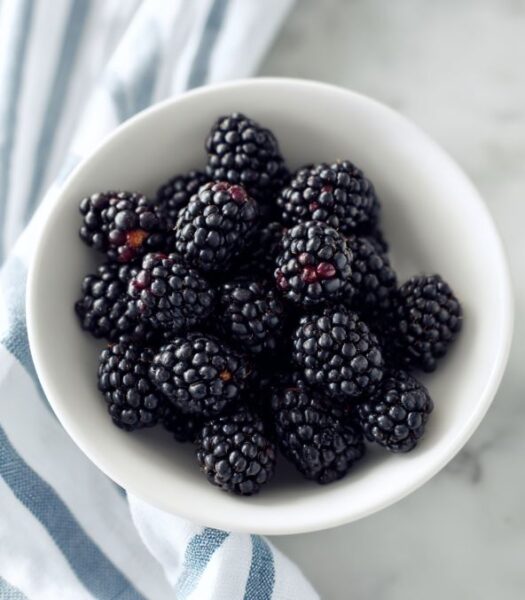
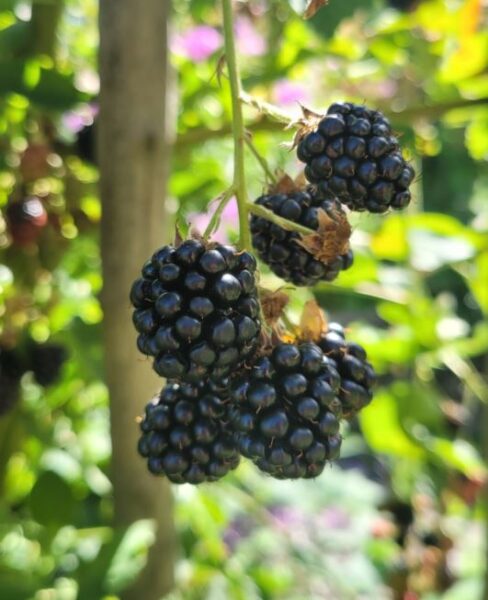
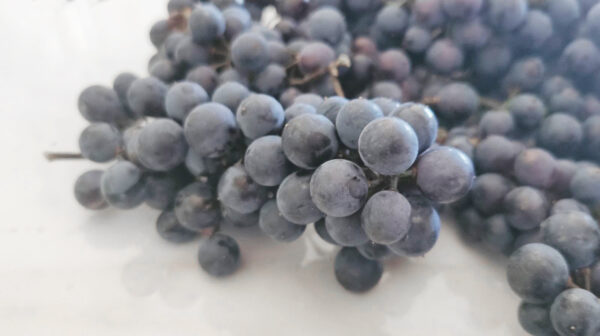
This year I’ve got a bumper crop of blackberries growing on my bush. There are so many berries my family can’t eat them all at once, so freezing them is the easiest way to save every last one. I love knowing I can pull out a bag of frozen blackberries in the middle of winter and get a taste of summer all over again.

How To Freeze Fresh Blackberries
Freezing blackberries might seem simple, but a few small tricks can make a big difference in how your berries turn out. These tips will help you keep your blackberries tasting sweet, and make sure they stay in great shape for baking, smoothies, or snacking later on.
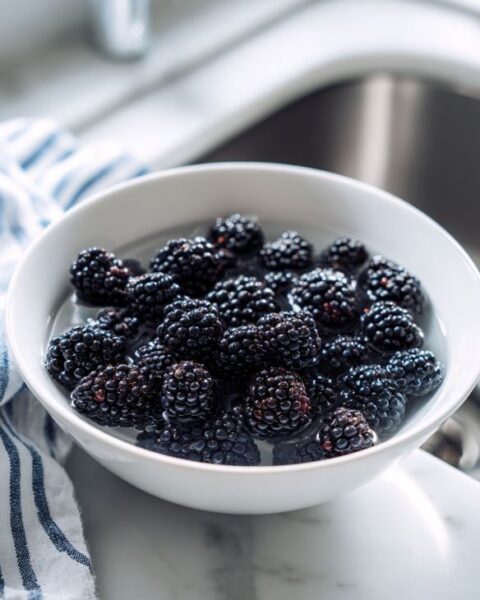
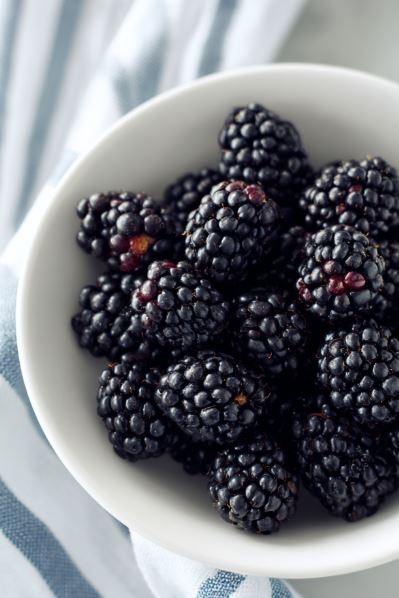
Step 1: Wash Your Blackberries
The first step to freezing blackberries is giving them a good wash. Fresh blackberries often have little bits of dirt, leaves, or even small bugs from the garden. Place fill a large bowl with cold water and add in the blackberries. Gently swish the blackberries around with your hands so the water can rinse off any dirt. You don’t want to crush the berries, so make sure you’re careful when handling them.
Once they’re clean, drain the water and set the blackberries on baking tray lined with paper towel. Let them dry as much as you can because extra water on the berries will cause ice crystals when you freeze them. Getting them as dry as possible helps your frozen blackberries stay firm and not mushy later.
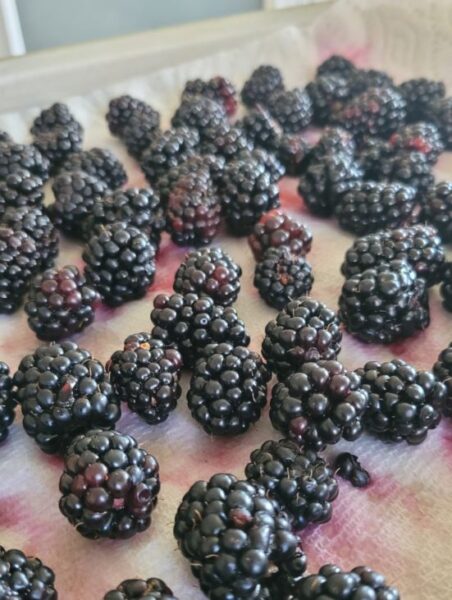
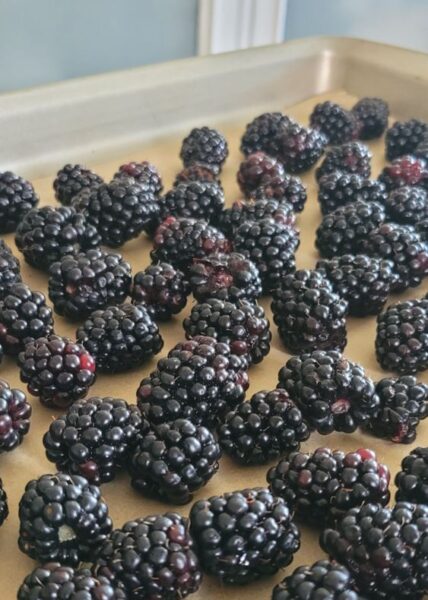
Step 2: Arrange Blackberries On A Baking Sheet
After washing and drying, the next step is to spread your blackberries out in a single layer on a baking sheet. Lining the baking sheet with parchment paper can help keep the berries from sticking. This step is important because it keeps your blackberries from freezing together in one big clump. By freezing them separately first, you’ll end up with frozen blackberries that are easy to grab by the handful whenever you need them.
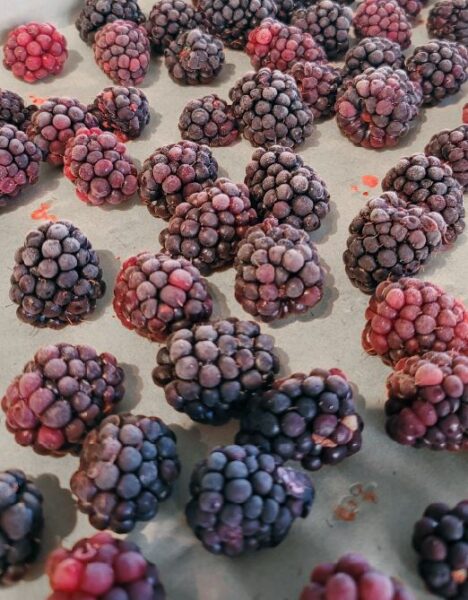
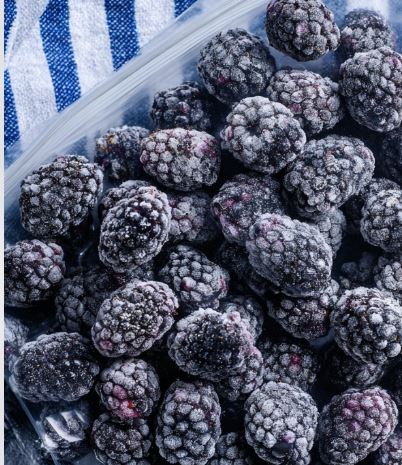
Step 3: Freeze The Blackberries
Just place the tray in your freezer and let the blackberries freeze solid for a few hours or overnight. This works perfectly for blackberries, blueberries, raspberries, or any soft fruit you want to keep from sticking together.
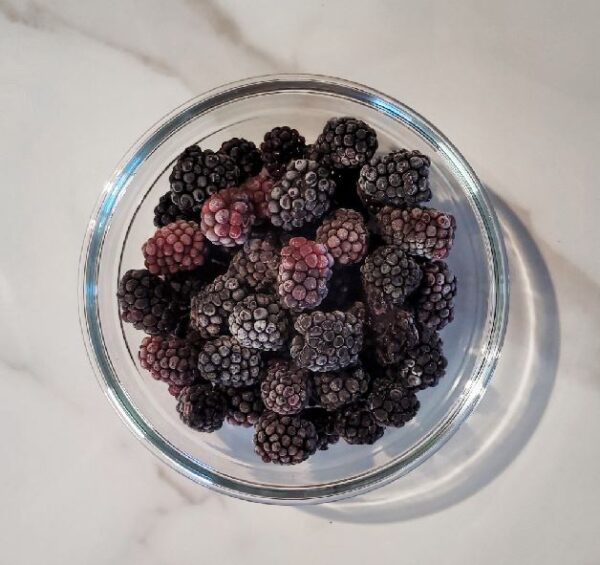
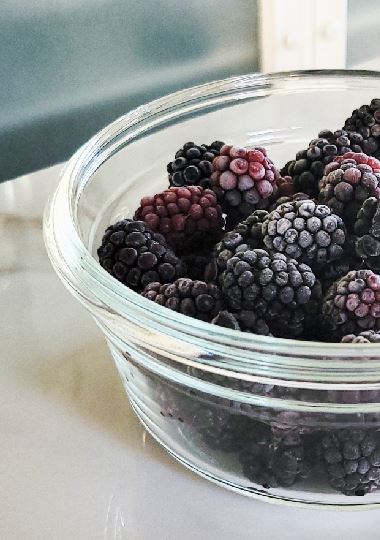
Step 4: Store In Freezer Safe Containers
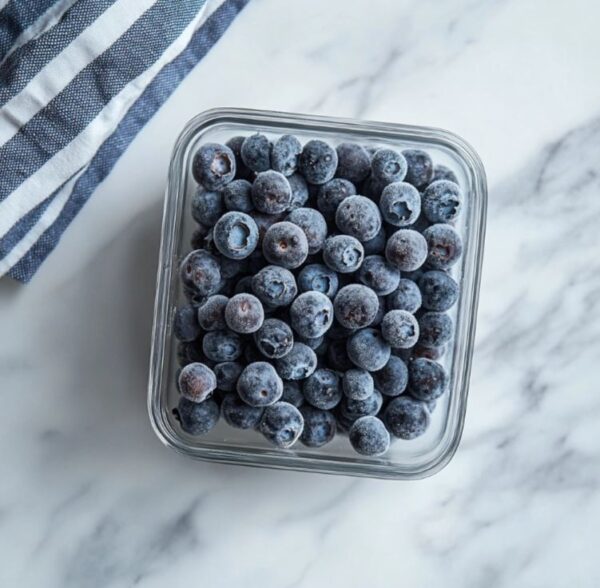
Once your blackberries are frozen solid, it’s time to store them in freezer-safe bags or containers. I like to use freezer bags because they save space and you can press out the extra air before sealing. Removing as much air as possible helps prevent freezer burn and keeps your frozen blackberries tasting fresh for months. But for when I have small batches, I’ll usually just use a freezer safe glass container.
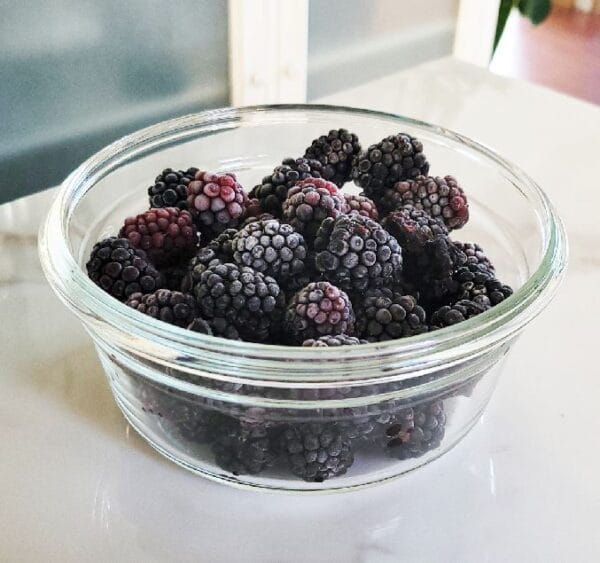
Label your bags or containers with the date so you know when you froze them. Blackberries can last in the freezer for up to a year, but I usually use mine up within six months. They’re perfect for overnight oats, muffins, cobblers, and smoothies, and they taste just as good as the day I picked them.
Equipment Needed To Freeze Blackberries
Large bowl for washing your fresh blackberries and rinsing off any dirt or garden debris.
Colander or strainer helps drain water quickly after washing your blackberries.
Paper towels for laying out the blackberries to dry before freezing, which helps prevent ice crystals.
Baking sheet or tray to spread the blackberries out in a single layer for flash freezing.
Natural Parchment paper optional, but great for keeping blackberries from sticking to the tray while freezing.
Freezer-safe bags or containers to store your blackberries long term in the freezer. Make sure they seal tightly to prevent freezer burn.
Permanent marker for labeling your bags or containers with the date so you know how long the blackberries have been frozen.
Best Tips For Freezing Blackberries
Now that you know the basic steps for how to freeze fresh blackberries, let’s go over some extra tips to make the process even easier. Freezing blackberries might seem simple, but a few small tricks can make a big difference in how your berries turn out. These tips will help you avoid common mistakes, keep your blackberries tasting sweet, and make sure they stay in great shape for baking, smoothies, or snacking later on.
Make sure the blackberries are dry
One of the biggest tips I have for freezing blackberries is to make sure your berries are completely dry before you put them in the freezer. Even a little extra water can turn into ice crystals, which makes your blackberries mushy when they thaw. After washing, I always gently pat each berry with a clean kitchen towel or paper towels. This small step really makes a difference in keeping your frozen blackberries firm and ready to use for smoothies, baking, or snacking.
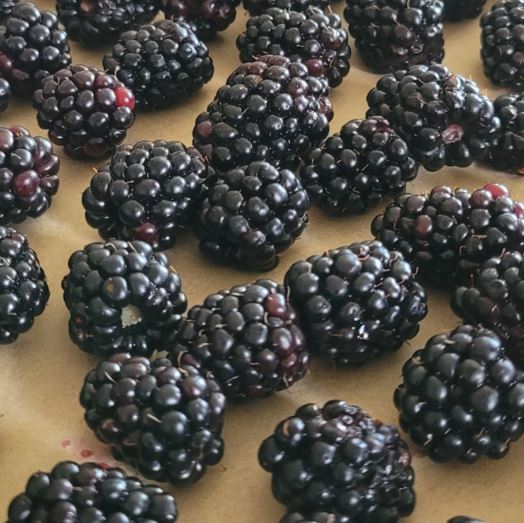
Spread out the blackberries
By spreading your blackberries in a single layer on a baking sheet, you stop them from freezing together in a big clump. Once they’re frozen solid, you can transfer them to freezer-safe bags or containers. This keeps your frozen blackberries easy to grab by the handful and helps them stay fresh longer. I always line my trays with parchment paper, which makes cleanup easy and stops the berries from sticking.
Remove as much air as possible
If using a freezer bag, it’s also helpful to remove as much air as possible from your freezer bags before sealing. Air is the enemy of frozen blackberries because it can cause freezer burn and affect the flavor. Press the bags gently to squeeze out extra air, then seal them tight.
Labeling the bags with the date is another trick I use so I know how long my blackberries have been in the freezer. Frozen blackberries can last up to a year. I tend to use mine within about six months to enjoy the best flavor.
Plan on how you are using frozen blackberries
Finally, think about how you plan to use your frozen blackberries. If you’re going to use them in smoothies, it’s okay if they get a little soft when thawed. But for baking or making jams, keeping them firm is best. You can even freeze your blackberries in portioned amounts, so you only take out what you need for a recipe. This makes it easy to enjoy fresh tasting blackberries any time, even when they’re not in season.
Freezing Blackberries FAQ’s
Do you wash blackberries before freezing?
Yes, you should always wash fresh blackberries before freezing. Place them in a large bowl of cool water, gently swish them around, and then drain. Be sure they are completely dry before freezing to prevent ice crystals from forming.
How do you freeze blackberries without them getting mushy?
Handle them very gently because they tend to fall apart if they are too ripe. If your blackberries are not staying together, I would suggest just freezing them all together without separating them and then use them for a sauce for later.
How long do frozen blackberries last in the freezer?
Frozen blackberries can last up to a year in the freezer if they’re stored properly. For the best flavor and texture, try to use them within 6 to 8 months. Always store them in airtight freezer bags or containers and remove as much air as possible to prevent freezer burn.
Do you need sugar to freeze blackberries?
No, you don’t need sugar to freeze blackberries. They freeze just fine on their own. Some people add a little sugar before freezing to sweeten the berries, but it’s completely optional.
Can you use frozen blackberries straight from the freezer?
Yes, you can use frozen blackberries right out of the freezer for most recipes. They’re great for smoothies, baking muffins, or making sauces. If you need them thawed, just place them in the fridge for a few hours or leave them on the counter for a short time. Keep in mind they may release a little juice once thawed, which works perfectly for jams, cobblers, and desserts.
Printable Recipe For Freezing Blackberries

How To Freeze Fresh Blackberries (4 Easy Steps)
Here is how to freeze fresh blackberries for long term storage.
Ingredients
1 pound fresh blackberries
Directions
- After washing and drying, the next step is to spread your blackberries out in a single layer on a baking sheet. Lining the baking sheet with parchment paper can help keep the berries from sticking. This step is important because it keeps your blackberries from freezing together in one big clump. By freezing them separately first, you’ll end up with frozen blackberries that are easy to grab by the handful whenever you need them.
- Place the tray in your freezer and let the blackberries freeze solid for a few hours or overnight. This works perfectly for blackberries, blueberries, raspberries, or any soft fruit you want to keep from sticking together.
- Once your blackberries are frozen solid, it’s time to store them in freezer-safe bags or containers. I like to use freezer bags because they save space and you can press out the extra air before sealing. Removing as much air as possible helps prevent freezer burn and keeps your frozen blackberries tasting fresh for months. But for when I have small batches, I’ll usually just use a freezer safe glass container.
Favorite Kitchen Equipment
 KitchenAid MixerVisit Kitchenaid Store
- Cuisinart StoreCuisinart Amazon Store
- Harvest Right Freeze DryerHarvest Right Freeze Dryer


Recipe Video
Notes
- Freezing fresh blackberries is one of the best ways to save your summer harvest for later. When you freeze blackberries the right way, they keep their sweet flavor, bright color, and juicy bite.
Like this recipe?
Follow @MakeOvernightOats on Pinterest
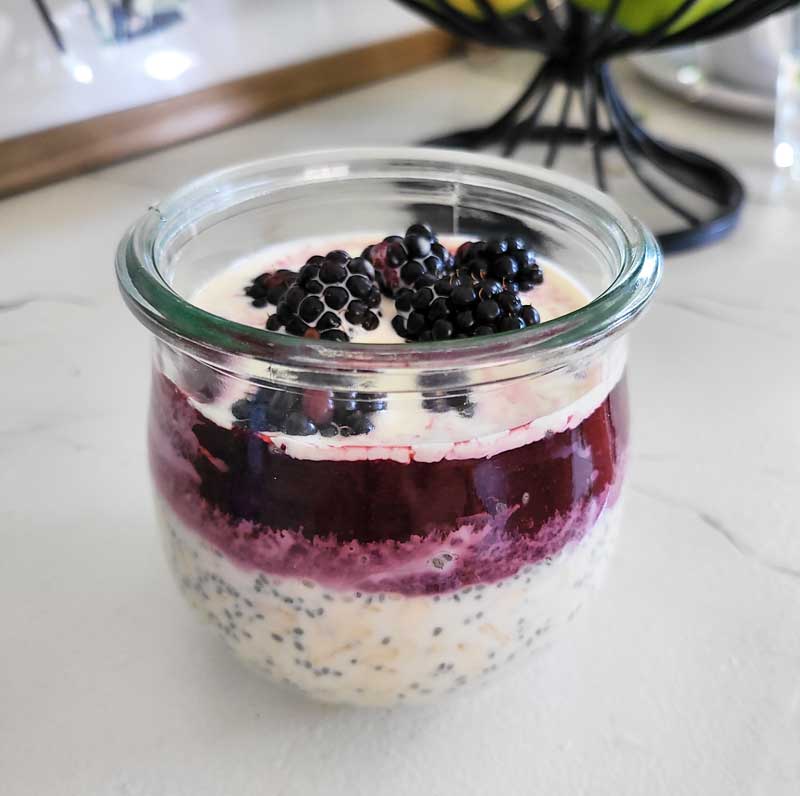
Try this easy blackberries and cream overnight oats recipe. It’s so good!
Freezing fresh blackberries is such an easy way to enjoy the taste of summer all year long. Once you’ve washed, dried, flash frozen, and stored your berries, you’ll always have a stash ready for smoothies, muffins, pies, jams, or just a quick snack straight from the freezer. I love knowing that even in the middle of winter, I can pull out a bag of frozen blackberries and get that sweet, juicy flavor I harvested from my own garden.
If you have a big harvest like I do, freezing blackberries is a lifesaver. It’s simple, it works, and it keeps your berries tasting fresh for months. Give it a try with your fresh blackberries, and you’ll never waste a single berry. Don’t forget to share this post with friends and family who have blackberry bushes, they’ll love having these tips to freeze their berries too!

)